Step-by-Step Guide
Step 1: Sort by Color and Fabric Weight
Separate darks from lights to avoid color bleeding. Also separate heavy hoodies (400 GSM) from lightweight tees (6 oz). Why? Because thick cotton takes longer to dry and can trap moisture against delicate prints. Wash your OA pieces in loads of similar weight.
Step 2: Turn Garments Inside Out
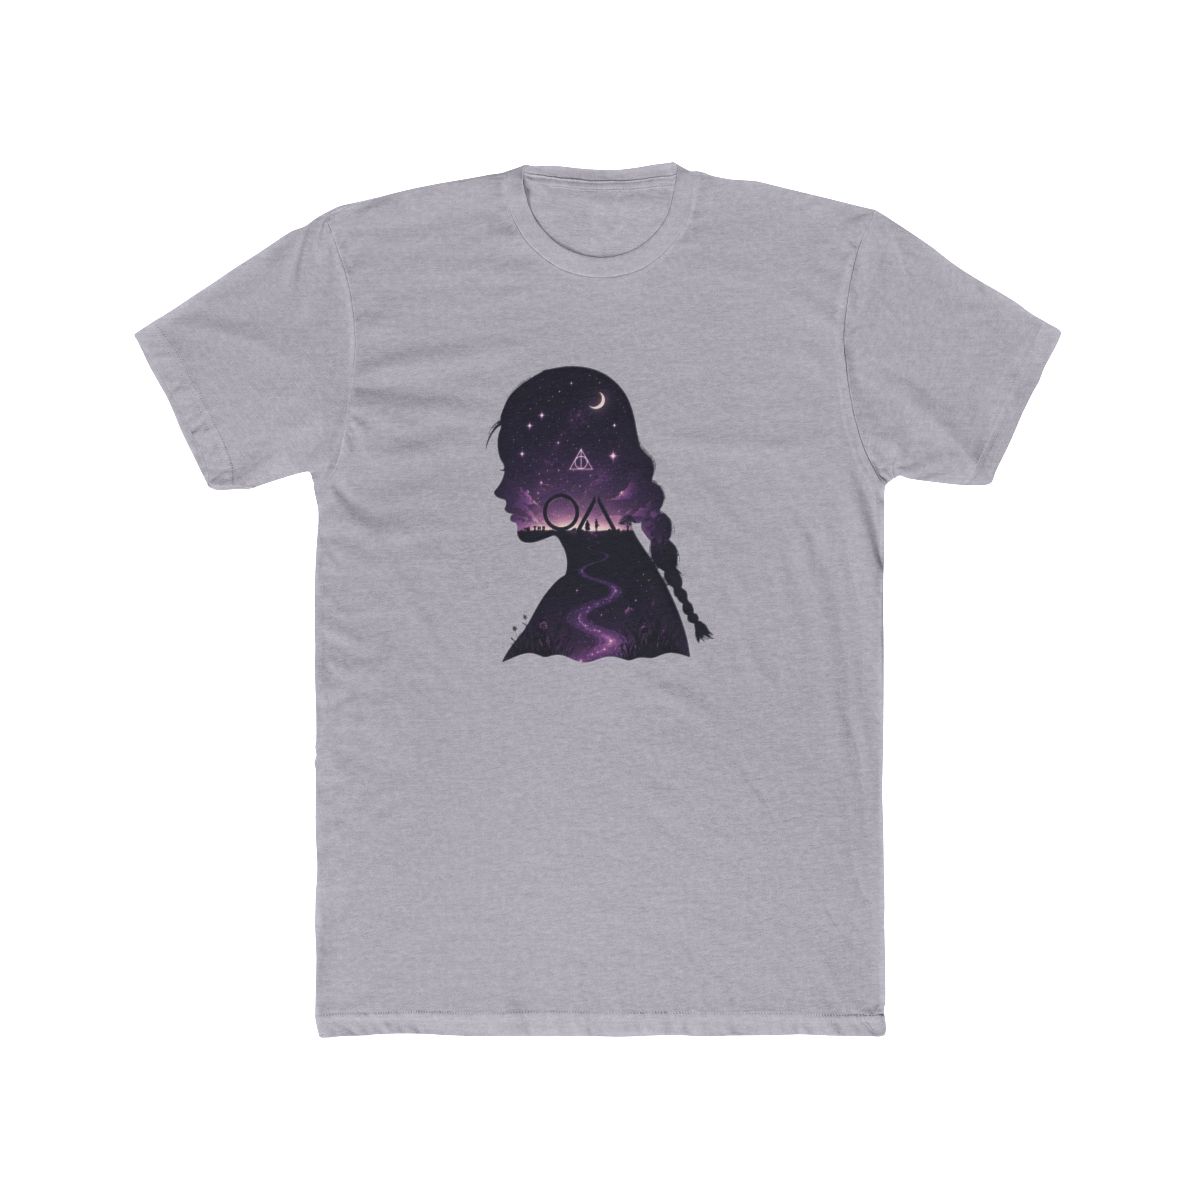
This is non-negotiable for any printed item. Turning inside out protects the graphic from abrasion against other clothes and the machine drum. For hoodies with large back prints, also zip or button them to prevent snagging.
Step 3: Use Cold Water and Gentle Cycle
Hot water weakens elastane in stretchy blends and accelerates fading. Cold water (below 30°C / 86°F) preserves dye and print integrity. Select the gentle cycle on your machine to minimize agitation. For heavily soiled items, spot-treat stains with a mild detergent before washing.
Step 4: Choose the Right Detergent
Skip bleach and fabric softeners. Bleach degrades fibers and removes color; softeners coat fabric, reducing moisture-wicking and causing pilling. Use a liquid detergent designed for darks or cold water. For the Limited Edition Patch Hoodie, avoid detergents with enzymes that can break down embroidery thread.
Step 5: Air Dry - No Exceptions
Tumble drying is the #1 cause of cracking, peeling, and shrinkage. Hang your OA tees and hoodies on a drying rack or line, away from direct sunlight (which can fade colors). For hoodies, lay flat to dry to maintain shape and avoid stretching the neckline. Average drying time: 4-6 hours for tees, 12-18 hours for hoodies.
Step 6: Iron Carefully If Needed
If your garment looks wrinkled, iron it inside out on low heat. Never iron directly over a print - the heat can melt the plastisol ink. Use a pressing cloth (a thin cotton shirt) between the iron and the fabric. For embroidered patches, iron around the patch, not over it.